You’ve definitely seen many, many, many versions of Tilly’s Coco pattern – and here’s another! I know, I’m super late to the party. But I think the party is very much still in full swing,… More
You’ve definitely seen many, many, many versions of Tilly’s Coco pattern – and here’s another! I know, I’m super late to the party. But I think the party is very much still in full swing,… More

It’s fair to say my lockdown sewing plans are very far from coming into fruition. Out of an ambitious list of 12 things, I’ve made…two. Still, it’s not all bad news – it looks like… More

What are your ‘staple’ garments? When you make your own clothes, it seems like it should be easier to fill your wardrobe with them, but there is such a thing as having too much choice… More

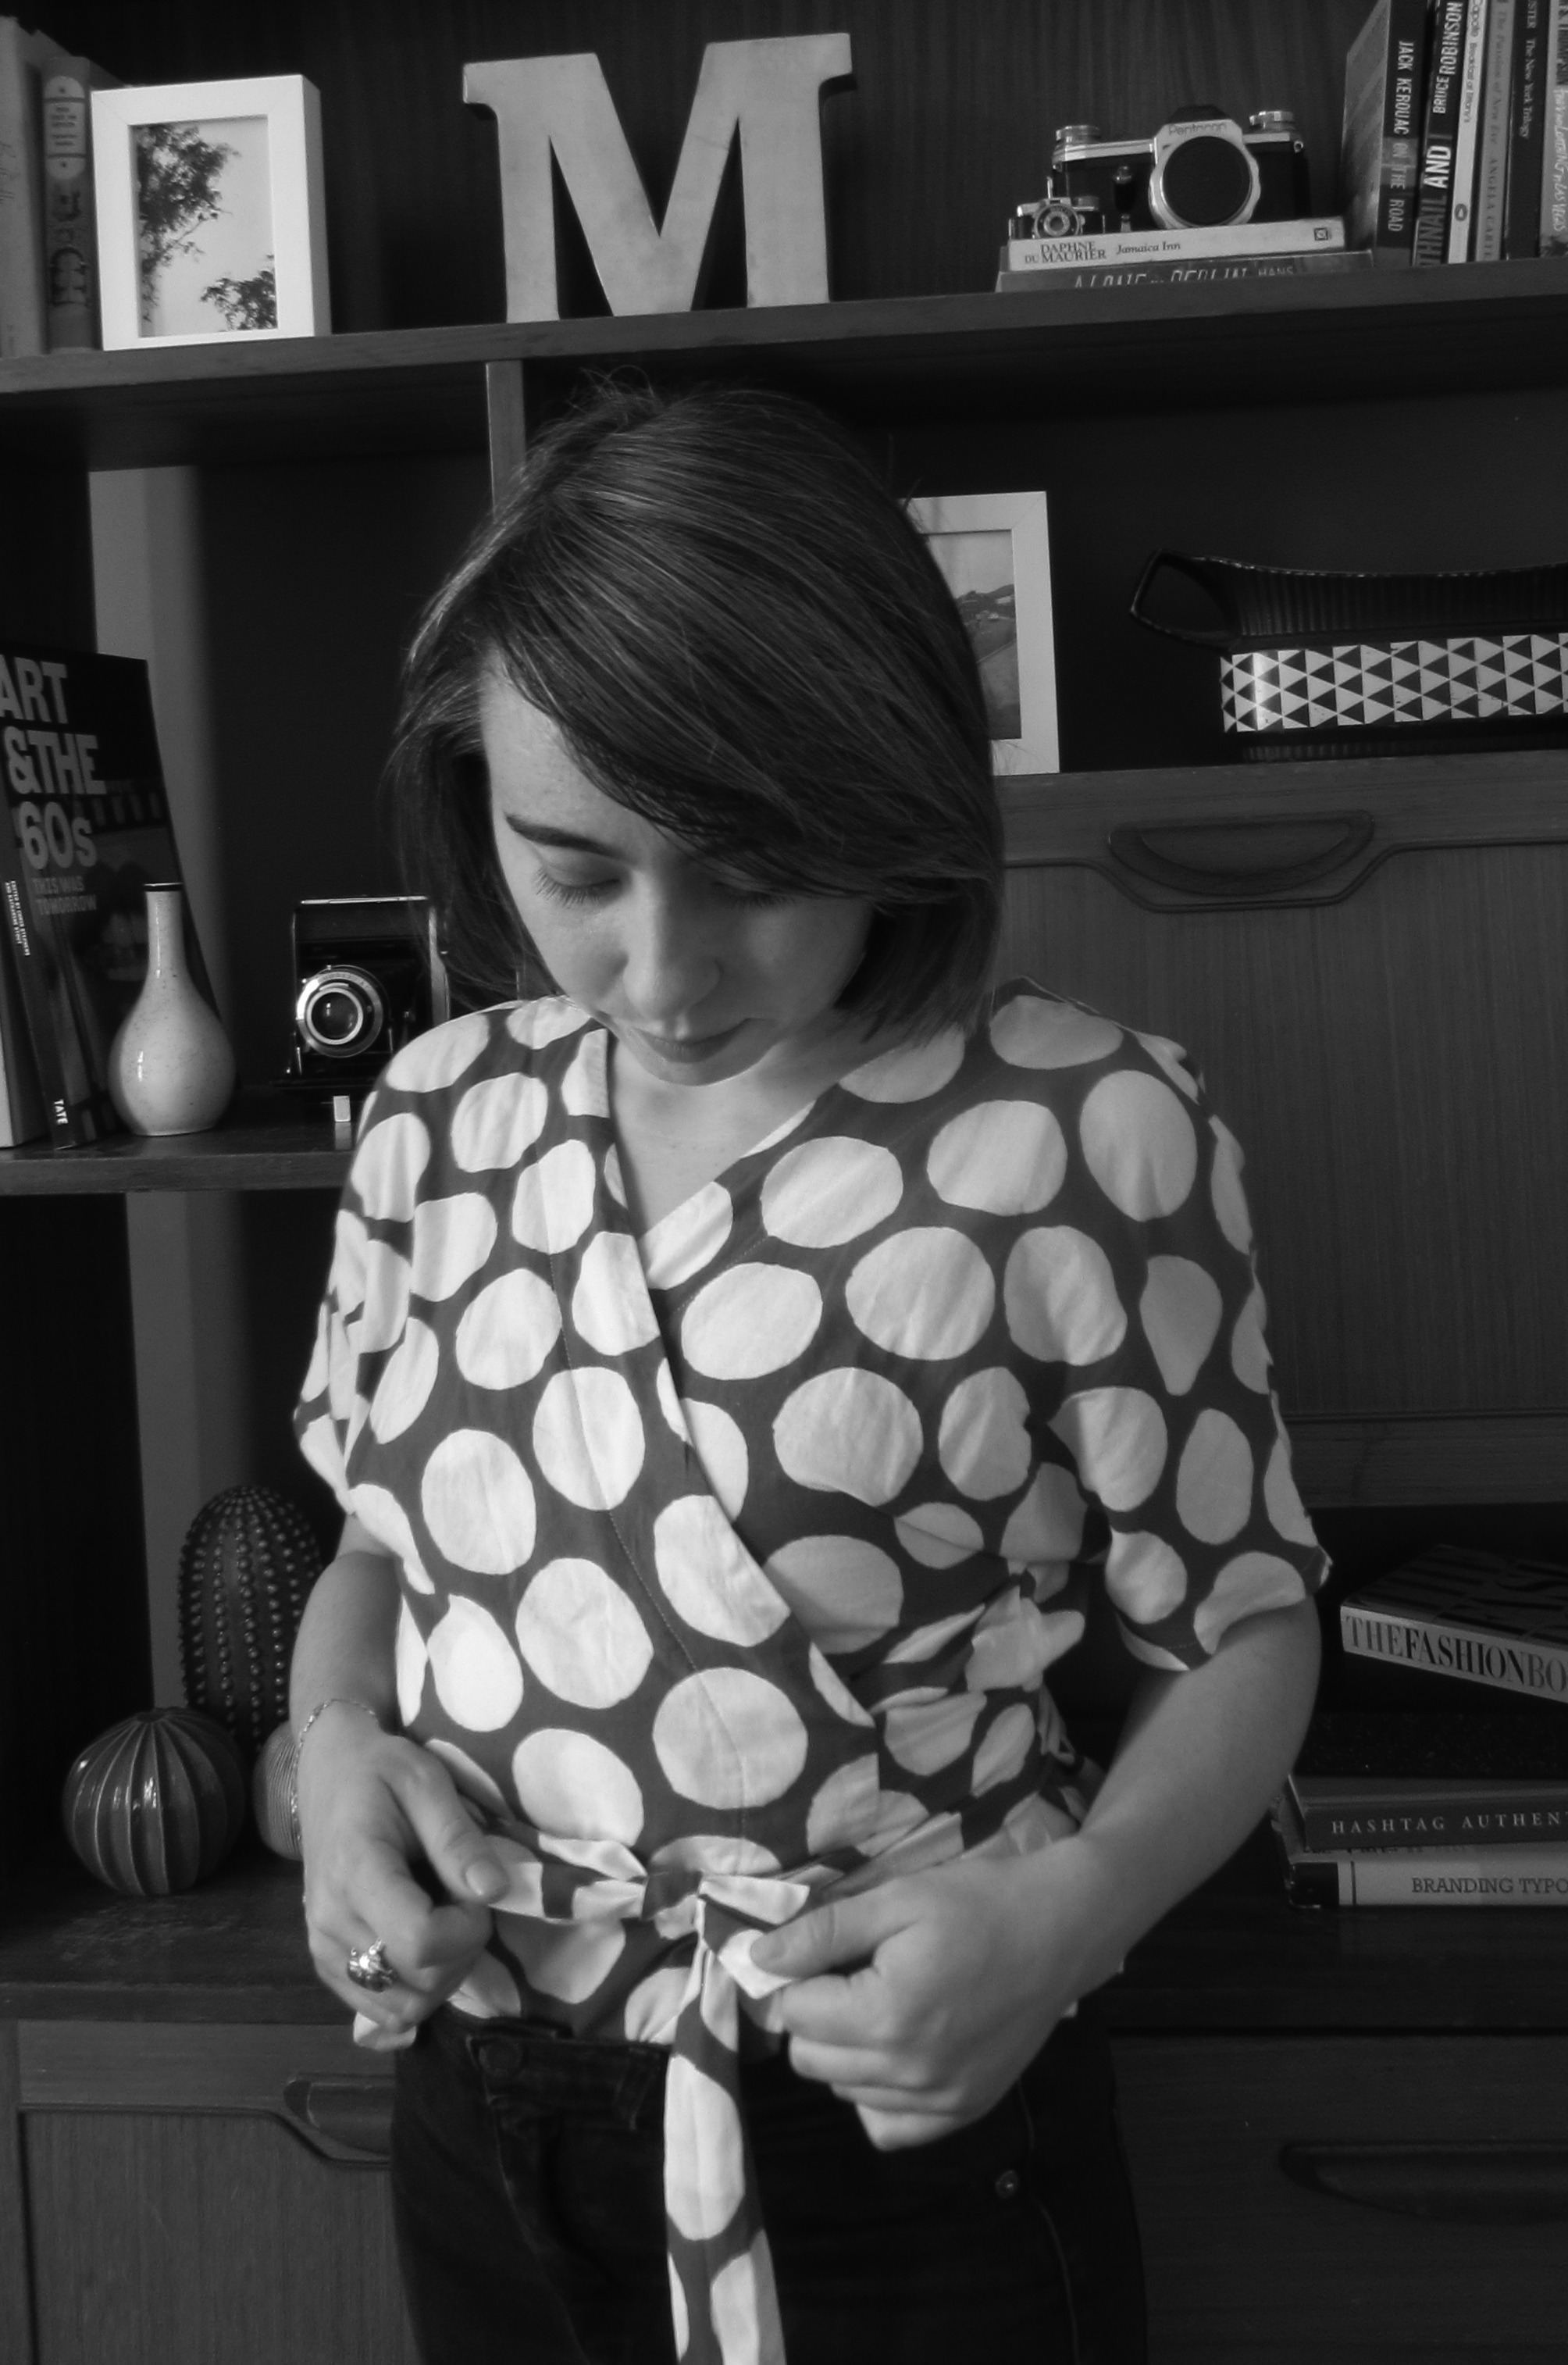
Pretty much the entire way through the process of making this top, I hated it…and then I finished it, tried it on and loved it. Why are sometimes even the simplest of projects such a rollercoaster?
I can’t even pinpoint (no pun intended) a reason for it – the pattern was quick and easy to make (The Wrap Dress from Simply Sewing issue 54), and the fabric is a lovely block print from Merchant & Mills. I think it’s just not a style or print I’d usually wear, so I wasn’t sure about it until it came together at the end.
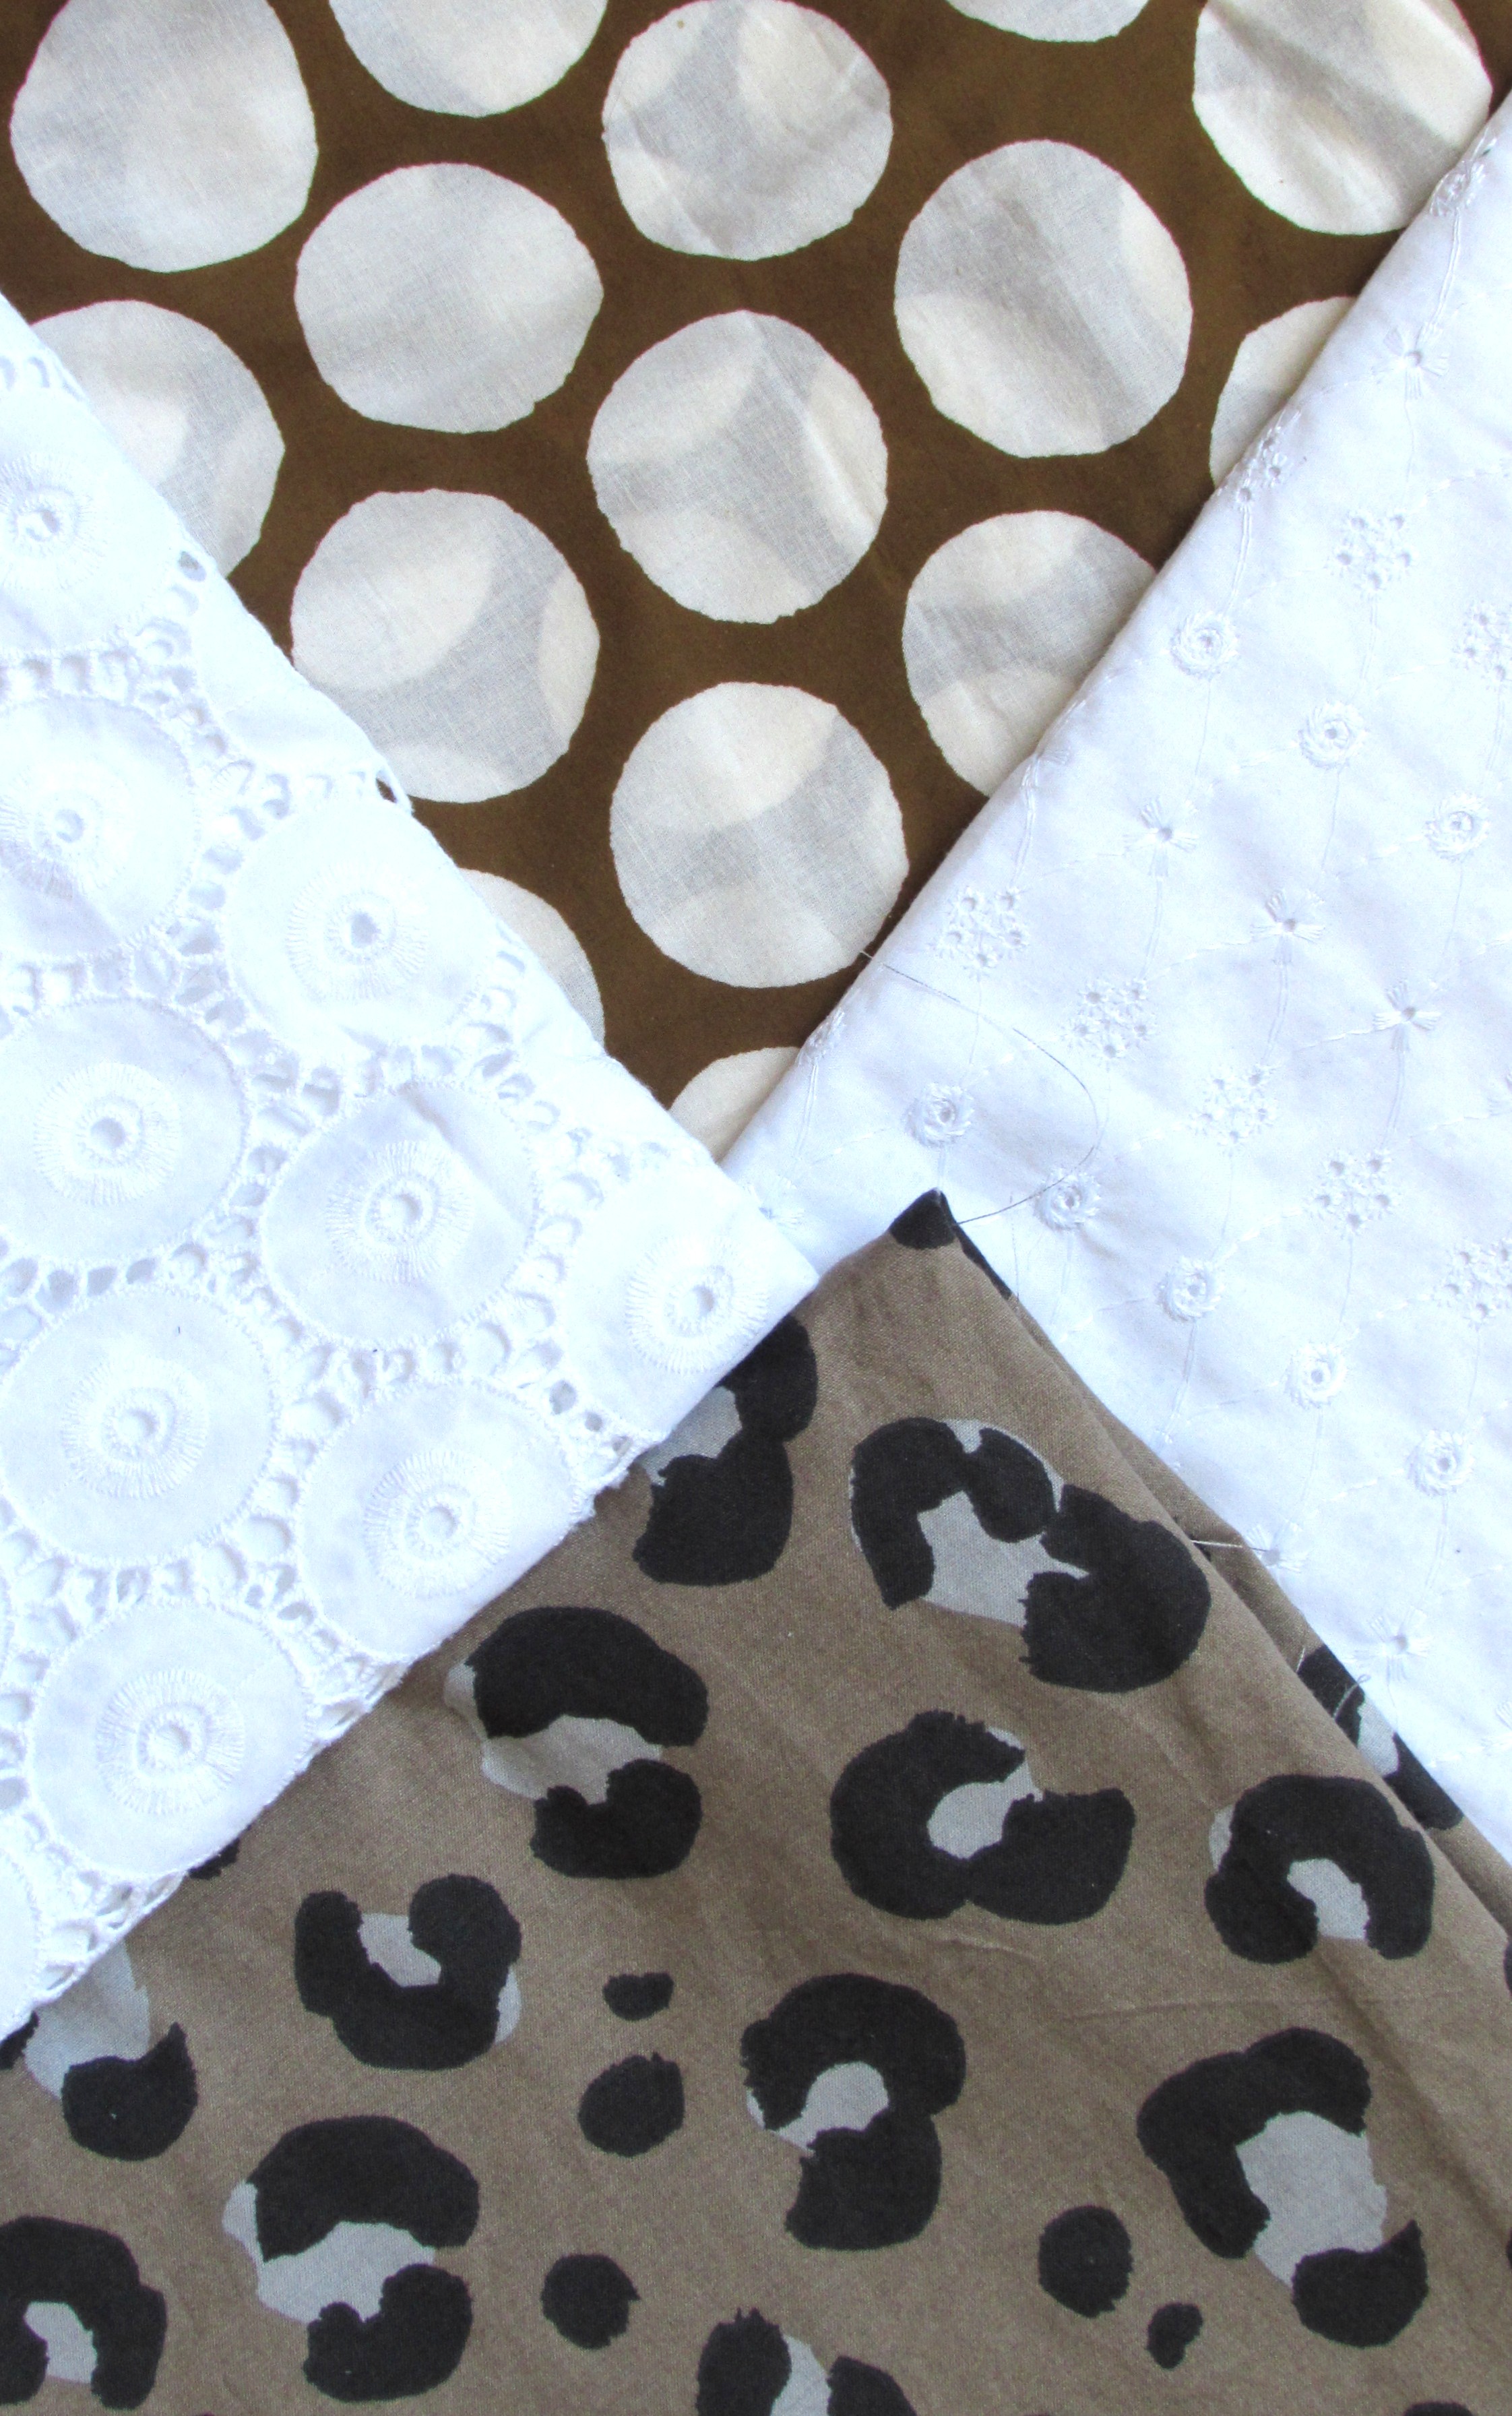
The fabric choice was inspired by all the lovely rust, caramel and burnt orange colours that seem to have been everywhere on the high street recently in the likes of & Other Stories and similar. Brown isn’t a colour I often sew with or wear (if at all), yet I’m a bit obsessed with it at the moment.
Wrap tops and dresses are usually pretty inappropriate on me as I’m so short – rather than the cross-over and ties being at my waist, they often end up at my hip, and so the wrap gapes open completely and covers nothing. So rather than showing my bra to the world, I’ve just never bothered wearing them.

 Altering the pattern was fairly simple to do: I raised the the tie position so the ties would be at my waist (and the wrap would actually, you know, cover my body), and altered the side seam and grown-on sleeve accordingly so the gap to thread the tie through would be in the correct place. I also shortened the length and the ties quite a bit, and shortened the sleeves as well. Okay, so that sounds like quite a lot of alterations – but all of them were easy ones.
My one niggle is that the neckline gapes slightly on the right side at the back depending on where the wrap sits at the front, but I’m not going to obsess over that. I did take a chunk out of the back shoulder seams which helped a little, but I’ll need to work out a proper fix for the next one (yup, definitely making another).
This project has also made me realise that I need to start fitting for my scoliosis; I had a spinal fusion when I was 13, but my right shoulder blade juts out more than my left, and my right shoulder is lower than my left one.
It’s often not that noticable, but on certain garments it can cause fitting issues that I haven’t totally worked out how to tackle yet – e.g. that back neckline gape on one side, the centre-back seam/zip being pulled out of line on more fitted garments, etc. Amazingly, I’ve somehow never considered making adjustments for it.
I’m thinking I’ll need to add a wedge to the top right side of bodice pieces to account for the shoulder blade (as per this tutorial). I’ll also need to cut the back bodice pieces separately rather than as a mirror-image pair so I can adjust each side of the back bodice. Learning how to fit for my scoliosis is going to be my new aim for the rest of this year. I see lots of toiles in my sewing future!
That all doesn’t take away from how much I love this top, though. The soft cotton fabric is a dream to wear – it has a lovely crinkled texture when it washes, so I don’t have to iron it (and, let’s face it, I probably won’t).
Pattern: The Wrap Dress from Simply Sewing issue 54 (PDF available here).
Alterations: I raised the front wrap for more coverage and changed the tie position so that the ties are at my waist, and also altered the side seam gap and grown-on sleeve accordingly. I also shortened the length, tie length and sleeves.
Fabric: Block print cotton from Merchant & Mills (now only available in navy).
Sewing soundtrack: Anything from the Pose TV series. So. Many. 80s. Tunes.

In the (paraphrased) words of a certain Taylor Swift, makers gonna make. But what happens when makers can’t make? Whether it’s a hectic day job, family commitments, a house move, or just a plain-old loss of sewjo, there are inevitably going to be times in our lives when our sewing machine gets neglected.
I’ve been thinking lately about sewing productivity – or, more specifically, my lack of it. I hate the word productivity, and I hate it even more when it’s applied to my favourite hobby. But if I only find time to make two or three projects a year, does that make me any less of a sewist than someone who makes 20?
This month, the worst happened: my sewing machine broke. It wasn’t beyond repair (I hope) but it did need a long-overdue service. And the irony of it all was, it happened at a point when I felt at my most ‘productive’. I had my first project of 2019 (yes, really) all cut out and ready to go. I had lots of free weekends coming up. And my sewing machine was having none of it.
So, what’s a sewist to do? Quietly sob while scrolling through everyone else’s finished projects on Instagram? Sew an entire dress by hand? Finally learn how to knit? Okay, so that last one is quite tempting. What I actually did, though, was prep. So much prep. Pattern alterations and tracing. Cutting out fabric. Fusing interfacing. Overlocking edges. I had my own little factory line going.
By the end of it all I had three projects ready to sew, and another pattern ready to toile. That has never happened in my entire sewing life. Once my sewing machine is back in action, there’s going to be no stopping me. And although it used to be the part of sewing I would dread, I actually started to enjoy the process of it. Turns out that sewing is as much about the preparation as it is the actual sewing. Who knew?

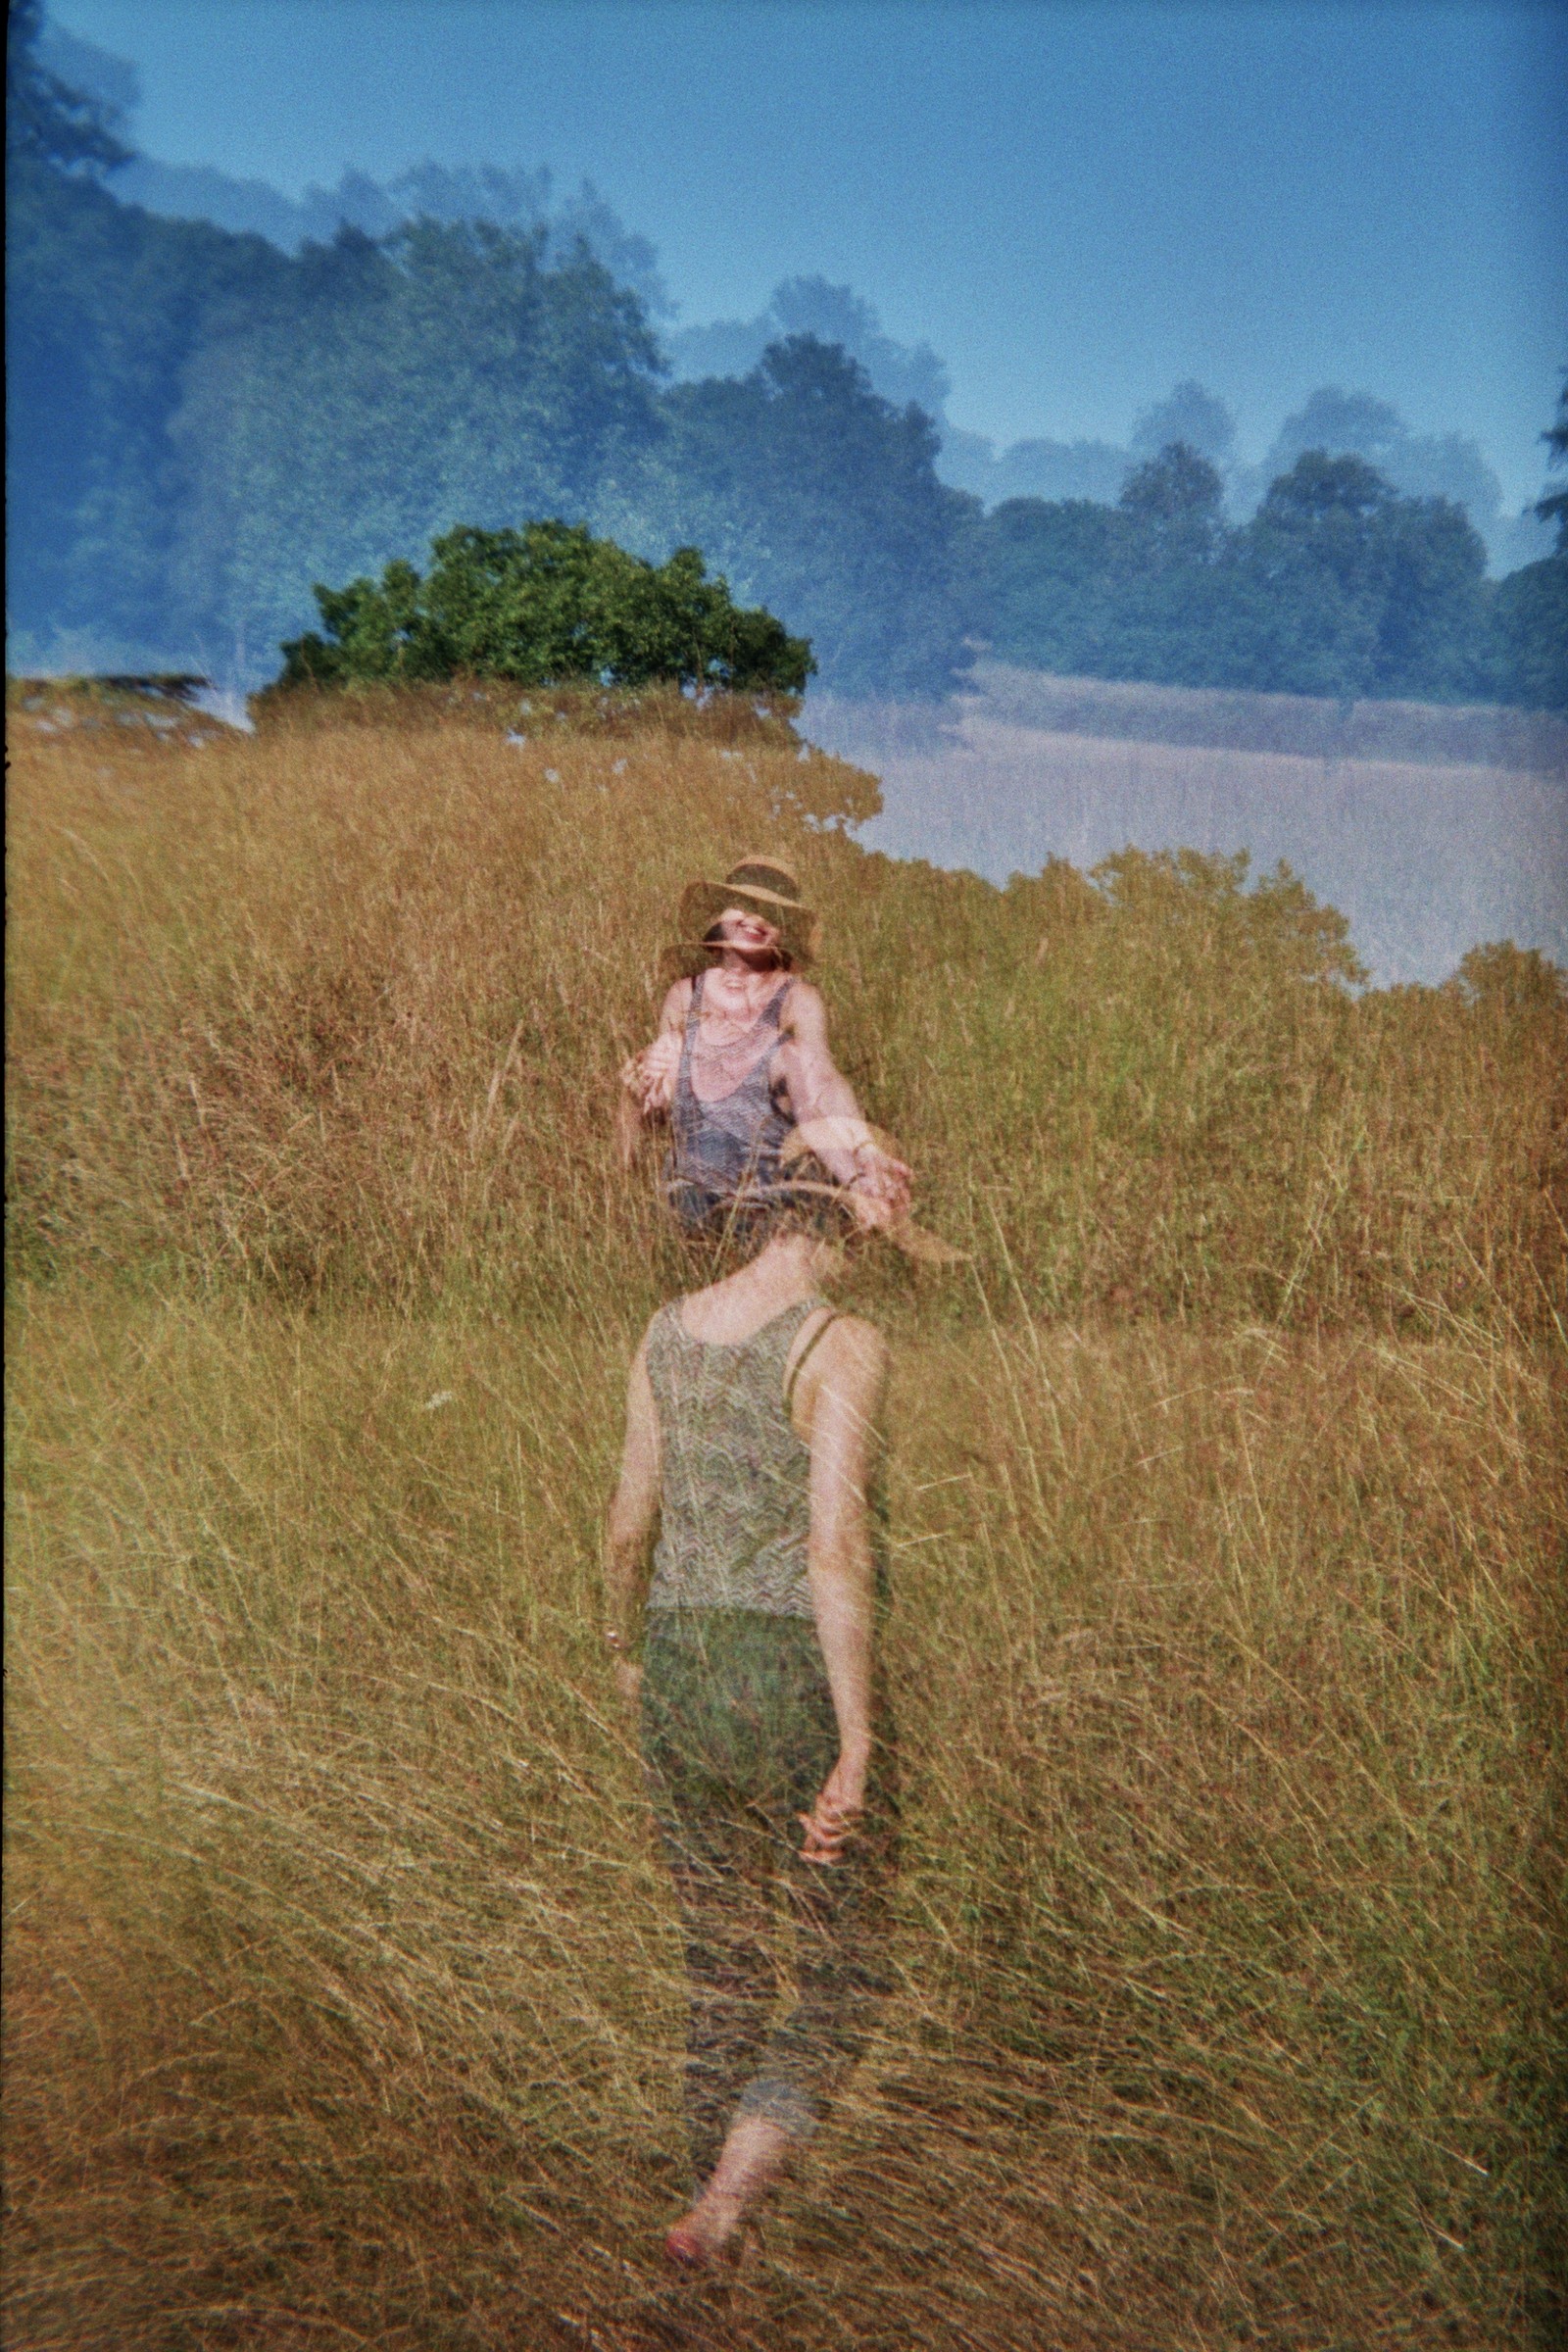
I’ve been wanting to give film photography a try for a while now, so last year made it my mission to shoot a roll of film – and I bought a Holga 135 to do it on.
Holgas are a brand of ‘toy’ camera first made in Hong Kong in the 1980s, similar to the Diana cameras that were really popular a few years back (although those originally came out in the 1960s). There are two types of 35mm Holgas: the 135, which is the one I have, and the 135BC. The BC stands for ‘black corners’, as it produces vignettes at the corners.
Whichever Holga option you choose, they’re cheap, plasticky and known for producing images with vignettes, unpredictable light leaks and a soft-focus blur. I’ll admit these don’t sound like a selling points, but it’s all part of the charm – you never quite know how your photos are going to turn out.
This being my first roll, I was expecting mixed results – and that’s definitely what I got. Holgas don’t exactly have a whole lot of settings to play with, which is part of what attracted me to them in the first place. It’s film photography for dummies! That being said, I still messed up half the film thanks to its pesky bulb switch.
Although the Holga has a few settings, they don’t really do all that much – apart from, that is, the bulb switch. This nifty setting allows the shutter to stay open for long exposures when taking photos at night or in low lighting, which is not what you want when you’re taking a standard photo in daylight.
It also just to happens to be on the underside of the camera, which means it can be easily switched to the ‘B’ setting by accident – especially if, say, you chuck the camera loose into your handbag without a case on it.
I’m not giving up, though! I’ve got a black and white roll to snap with next – and I’ll be checking that damn switch before clicking the shutter.